An English oak through two stages
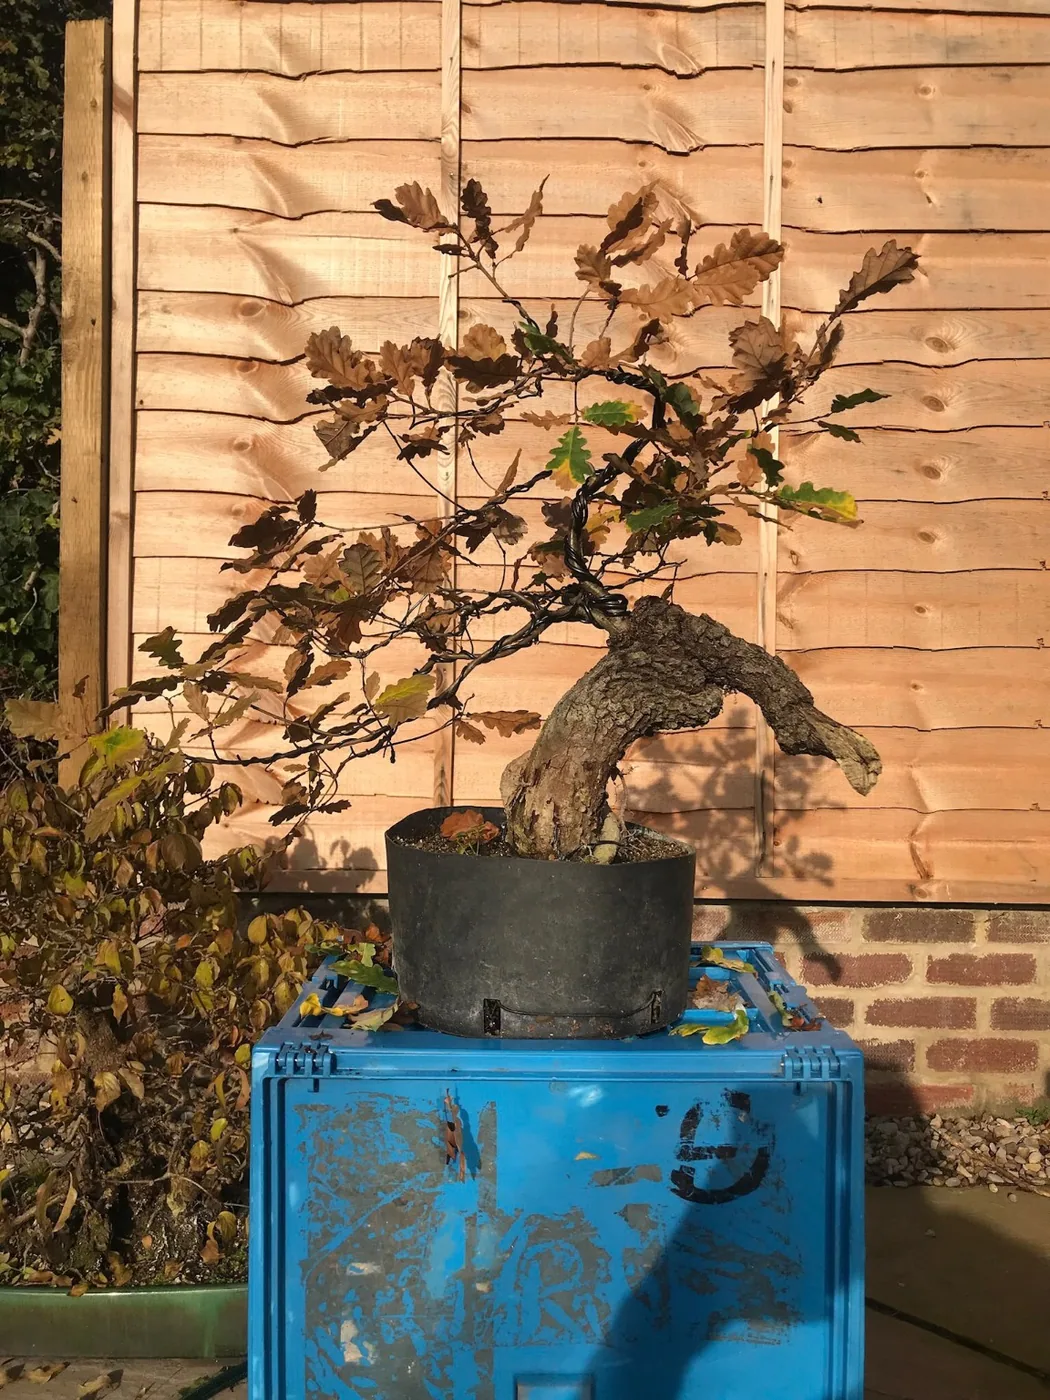
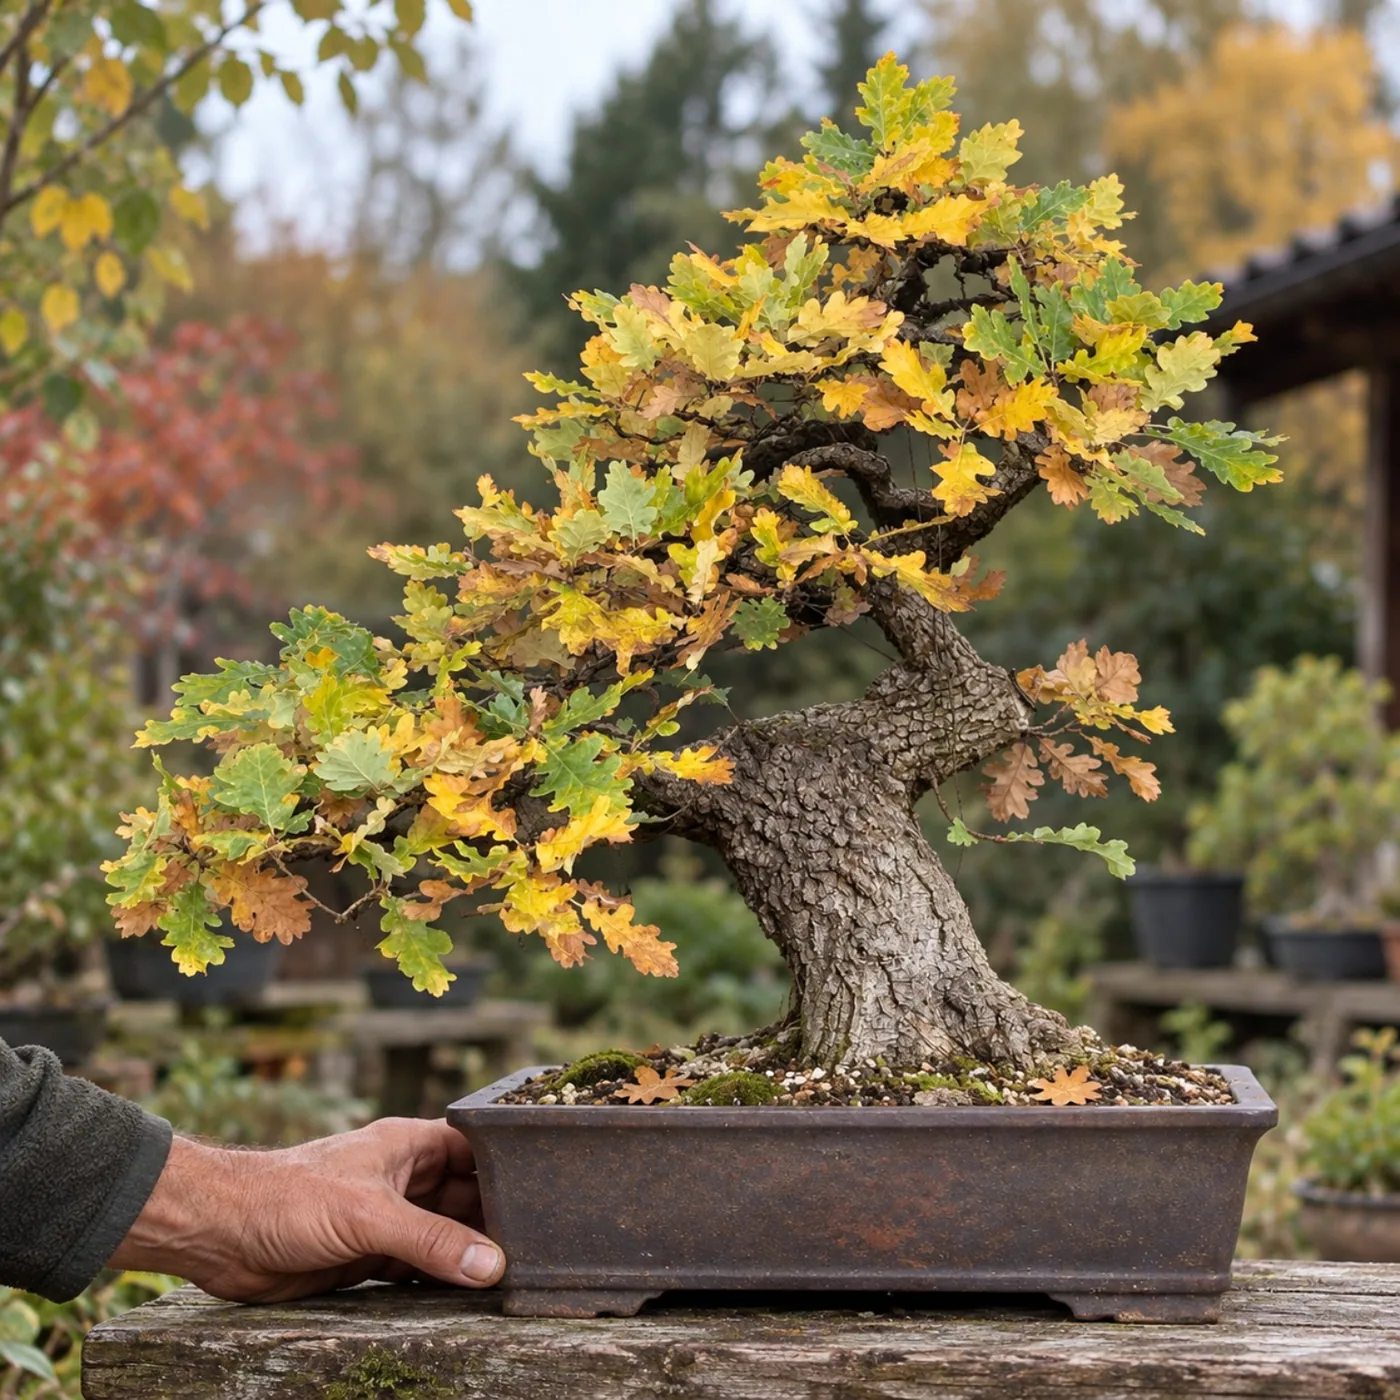
These photographs document the development of Andrea Melloni’s Quercus robur. The tree is now 80 cm tall. They offer a visual record of changing trunk structure and branch placement over time.
Understand the growth trade
More foliage and extension growth generally support more trunk development. A sacrifice branch left to run can thicken the section below its attachment, but it may also create an oversized branch scar or abrupt swelling. Place it with the future design and scar repair in mind.
Choose a development environment
Growing in the ground or a larger container often allows faster growth than a small bonsai pot. Ground growing can produce strong roots and trunk girth, but the tree may need staged root pruning before it can return to a shallow pot. A development box offers more control and access, with less acceleration in some settings.
Create taper while the trunk grows
A uniformly thick pole is not the goal. Change leaders at planned points to create taper and movement, and avoid leaving several strong branches at the same height if they will produce inverse taper. Inspect swelling at branch junctions before it becomes difficult to correct.
Keep species and climate in view
Growth rate, wound closure and response to pruning differ. Do not apply a fixed number of years or trunk diameter target to every tree. Set a design objective, allow strong growth in suitable conditions, and reassess the transition point each season.
Historical archive record